Adding comments with Staticman to my Jekyll website
Published:
I recently decided to add comments to my static personal Jekyll website. There are a couple options based on my reading online, but I decided to use Staticman because it was opensource and in theory totally free.
Here is a brief description of how I set it up.
Step 1: Creating a new Github account
Staticman works by submitting a pull request for each comment submitted. There are different routes for enabling Staticman to make a PR, but the one I ultimately was able to make work was creating a new github account paxton-bot-account and creating a personal access token for that new account under Settings>Developer Settings.
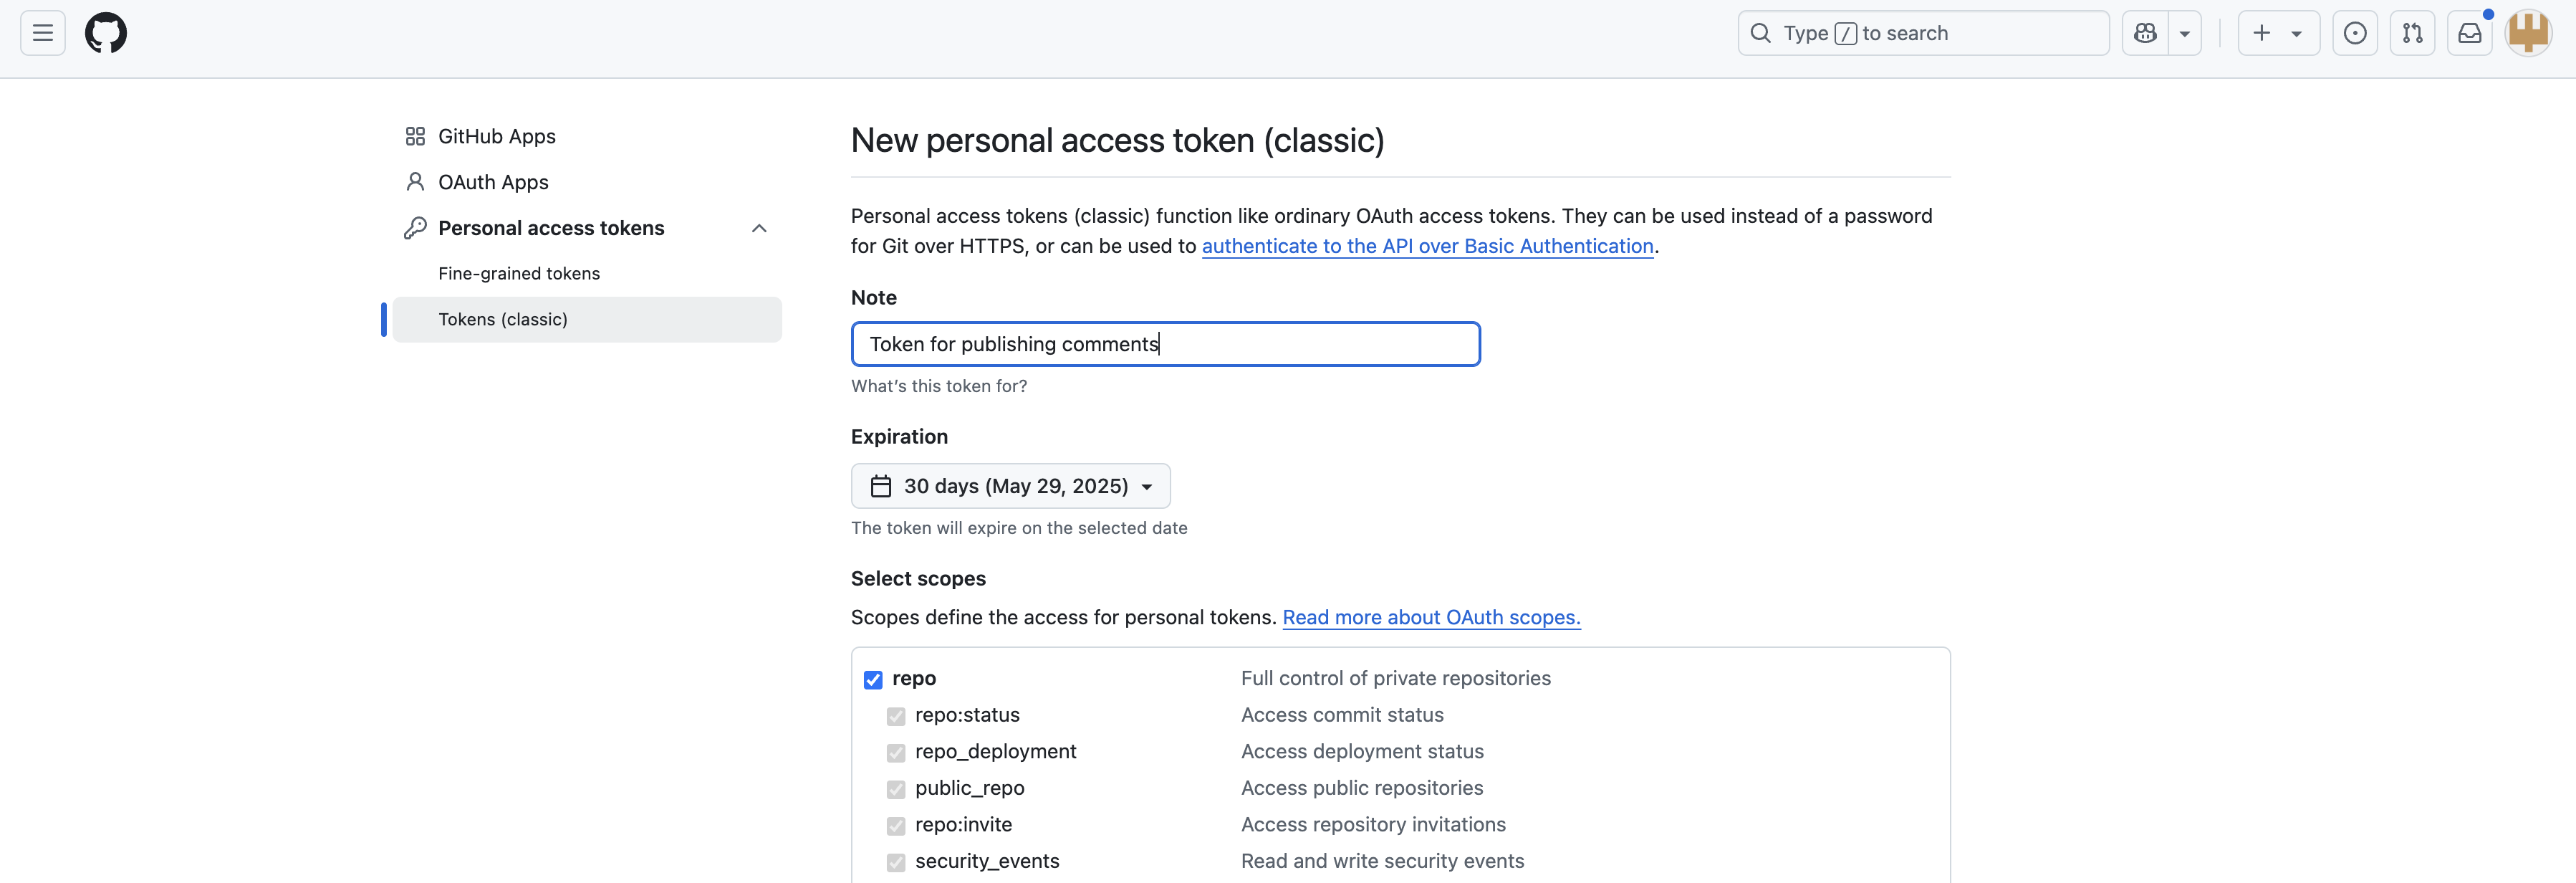
Then I was able to invite the new account as a contributor to my static website repository paxtonsc.github.io and copy down the GITHUB_TOKEN produced in the previous step.
Step 2: Hosting Staticman
The Staticman api works by processing comments and merging pull requests in the static website repository. The Staticman documentation suggests hosting with Heroku, but the free tier that apparently existed when the Staticman documentation was written no longer exists in 2025. Instead, I choose to host an instance with Render.
I first cloned the staticman repo and deployed the the local clone as a a new Web Service with Render. I selected the hobby project service tier which was $0 per month.

I set the following environment variables:
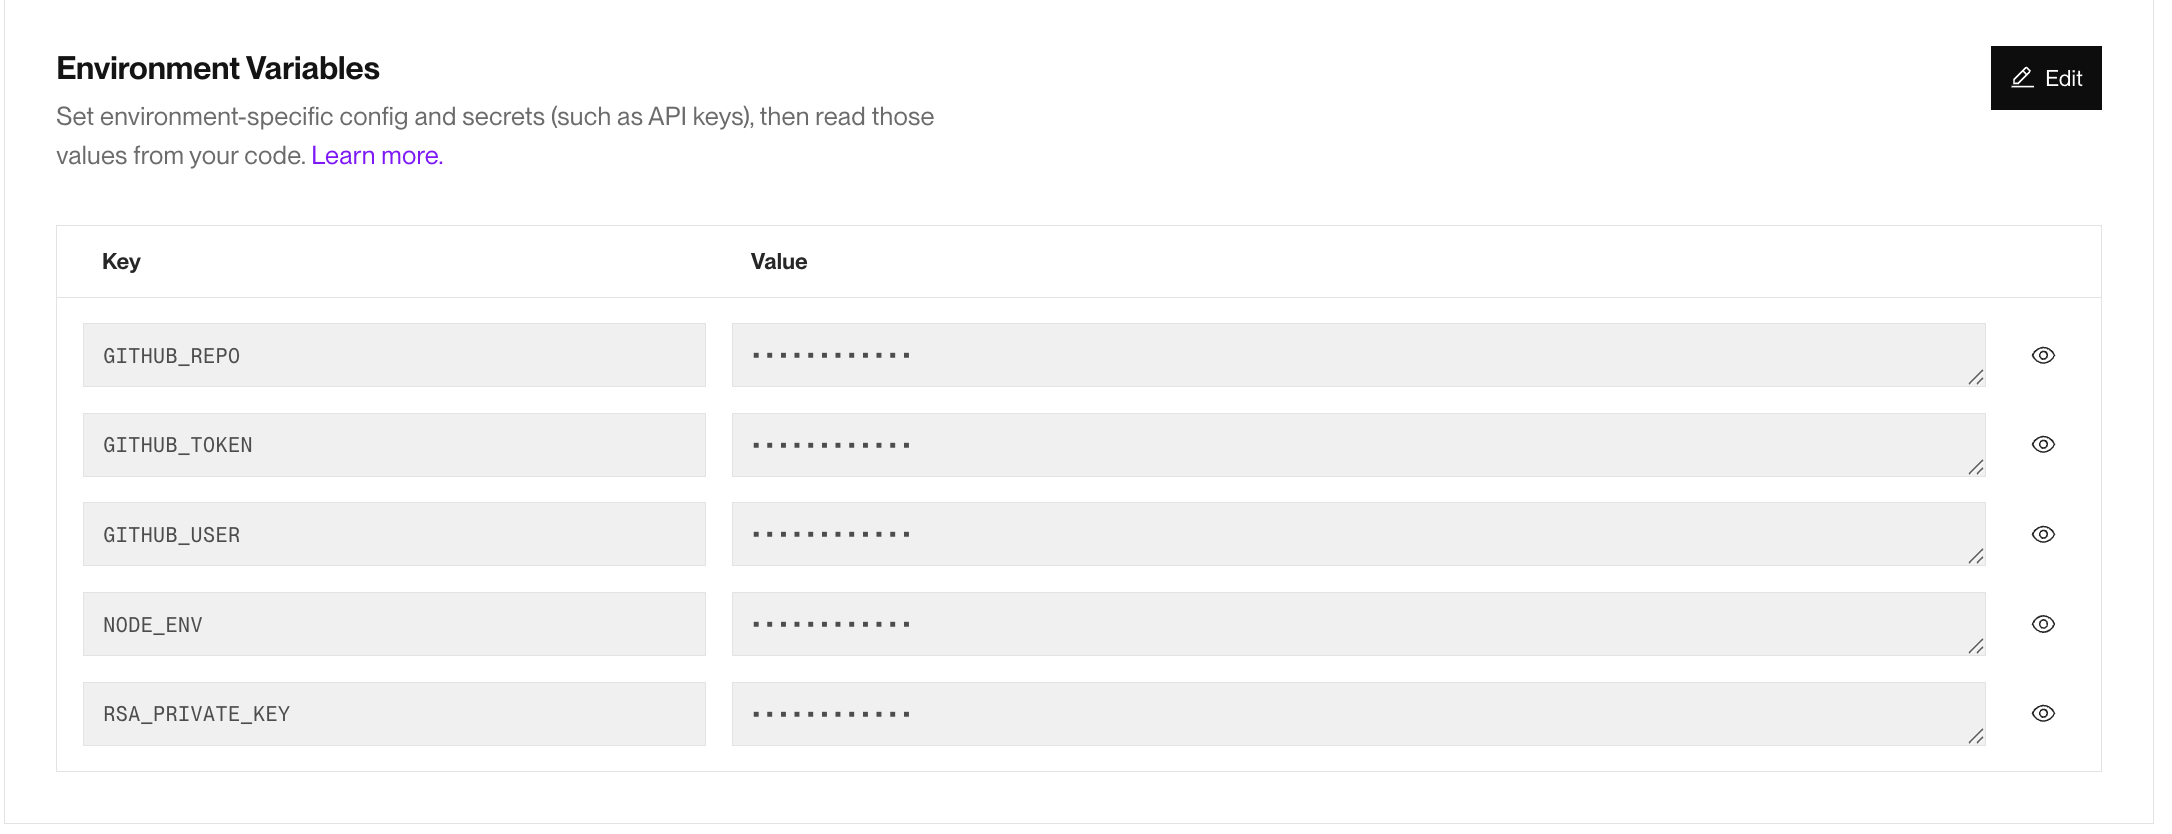
The GITHUB_TOKEN is from the previous step.
To generate the PRIVATE_RSA_KEY I used the command:
openssl genrsa
And NODE_ENV: production.
Step 3: Integrating with Jekyll Minimal Mistakes
Some of the leg work was already in place. Because I ended up using Staticman V2, I had to create a staticman.yml which I defined as follows:
allowedFields:
  - name
  - email
  - message
branch: main
commitMessage: "New comment in {options.slug}"
filename: "comment-{@timestamp}"
format: yaml
generatedFields:
  date:
    options:
      format: iso8601
    type: date
moderation: false
path: "_data/comments/{options.slug}"
requiredFields:
  - name
  - email
  - message
transforms:
  email: md5
And I also slightly modified the html form, drawing inspiration from this blog.
Leave a Comment
Your email address will not be published. Required fields are marked *